With my series, I’ll be creating a bunch of maps for places. There are many terrain creators out there, but I want to shape my lands so they have certain features, water bodies, etc. The easiest way I thought to do it is sculpting, so I built this simple material to help. Here’s how it works:
1. Start with a plane, make it as big as you want to work on.
2. Subdivide the heck out of it. I usually go 10x, then 10x, then 4-8x.
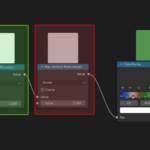
3. Use the Sculpt Elevations material in the blend file to the right.
a. Change the Max Bottom Elevation value (in green) to the absolute lowest elevation you will sculpt.
b. Change the Max Vertical Mesh Height value (in red) to the max height you want to the colors to spread across vertically. You can sculpt past this, it will just not change color beyond that – it works good for snowy mountain peaks.

4. Select the mesh, then engage sculpt mode. Use the settings I show to lock the X and Y, so you only edit the Z dimension with your sculpting.

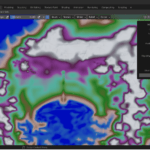
5. Sculpt away! Play with it, and have fun! Get a feel for how the colors change the elevation. I usually set up a overhead viewport for sculpting, and another in perspective mode to see how it looks as I go.
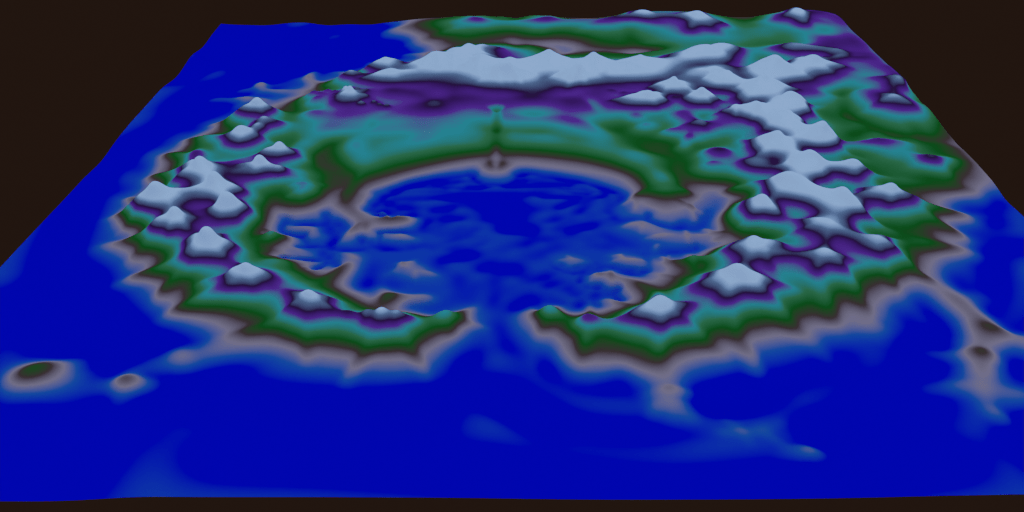
Below is Northport, the town my characters start in, sculpted using this material setup.

